Ahh … the infamous ugly Christmas sweater. Donning these eyesores during the holiday season has become a popular (and often humorous) tradition. And while some sweaters adopt a charming Fair Isle pattern, others include kitschy motifs like reindeer, snowflakes, Santa Claus and more. In fact, when it comes to ugly sweaters: More is more.
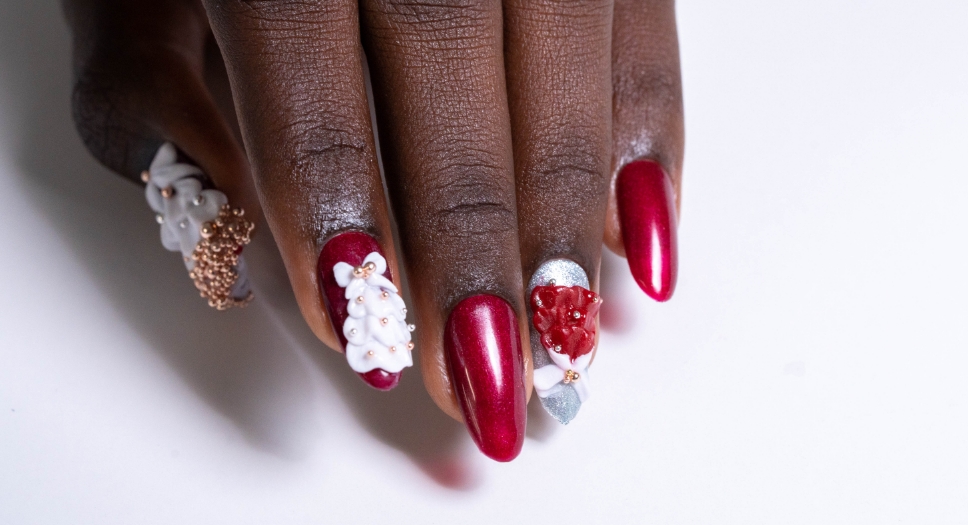
While the ugly sweater trend may not be your favorite festive attire, you can't deny that it makes for amazing holiday nails. Put your hand-painting skills to the test to recreate tiny sweater details on each and every nail, or if adding embellishments is more your speed, pile on all the colorful baubles, crystals, gingerbread and snowman that you can. Or follow this step-by-step from Gelish educator Erin Eng to create “ugly” acrylic Christmas trees that are sure to shine!
Apply one coat of Foundation Soak-Off Base Gel, and cure for 5 seconds under the 18G LED light.
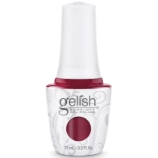
Apply two thin coats of pearlescent burgundy Rose Garden, curing for 30 seconds after each layer.
Finish the base color by applying one coat of No Cleanse Gel Top Coat, and cure for 60 seconds.
To create the white tree, use Gelish Xpress Dip N Brush in Sheek White with liquid monomer. Pick up a bead of powder and place it 2/3 of the way down the nail. Wipe your brush, and then gently press down on the bead to create an indented shape.
Continue applying beads of Sheek White to create the bottom row of tree branches, and continue with a second row moving up the nail.
To create the bow at the top, use two small beads of Sheek White, and gently press them into a bow shape with your brush. Repeat to create the ribbon.
Apply a thin layer of Foundation over the entire nail, including the tree. Before curing, place gold and silver seed beads onto the tree and center of the bow, and if you have room on the nail, below the tree. Cure for 5 seconds.
Finally, apply No Cleanse over the entire design. Use a smaller detail brush to get No Cleanse around the beads to secure them, and cure for 60 seconds.

 Brand
Brand


